From Idea to Photo: How to Plan a Successful Food Styling Session
From Idea to Photo: How to Plan a Successful Food Styling Session
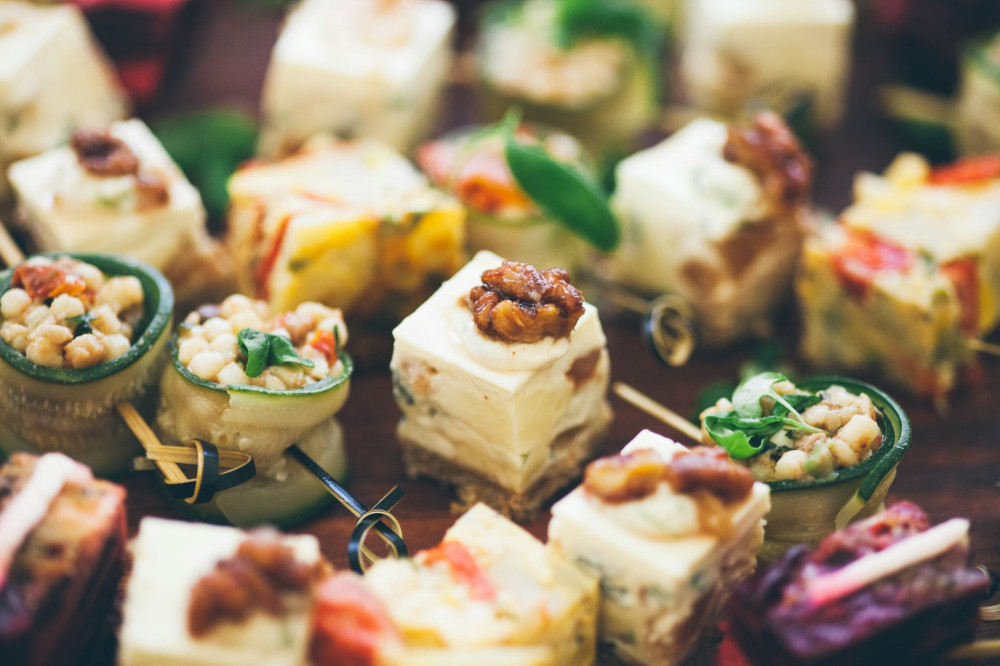
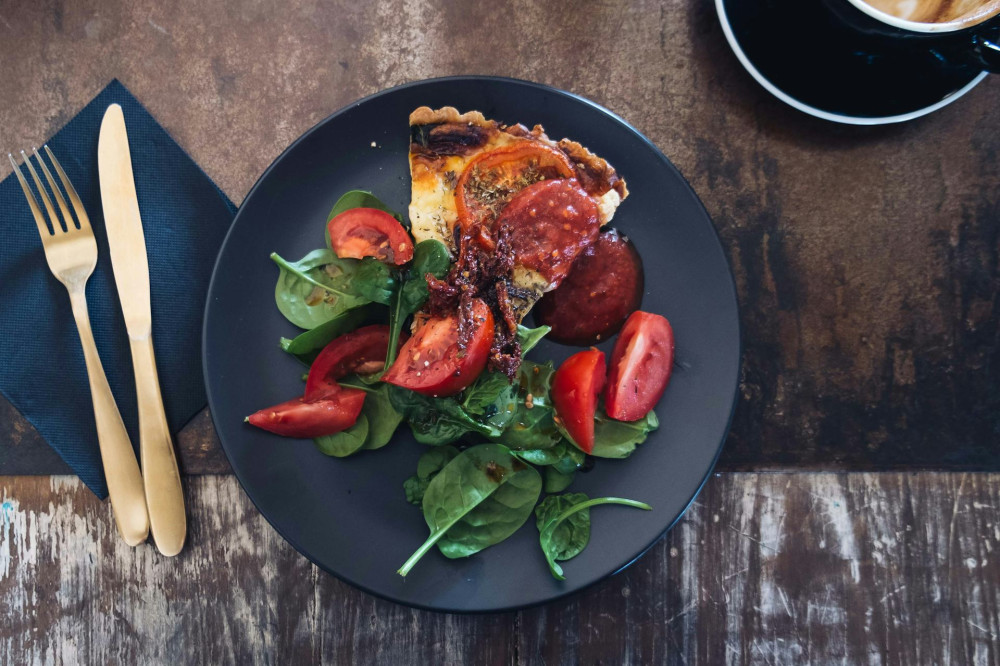
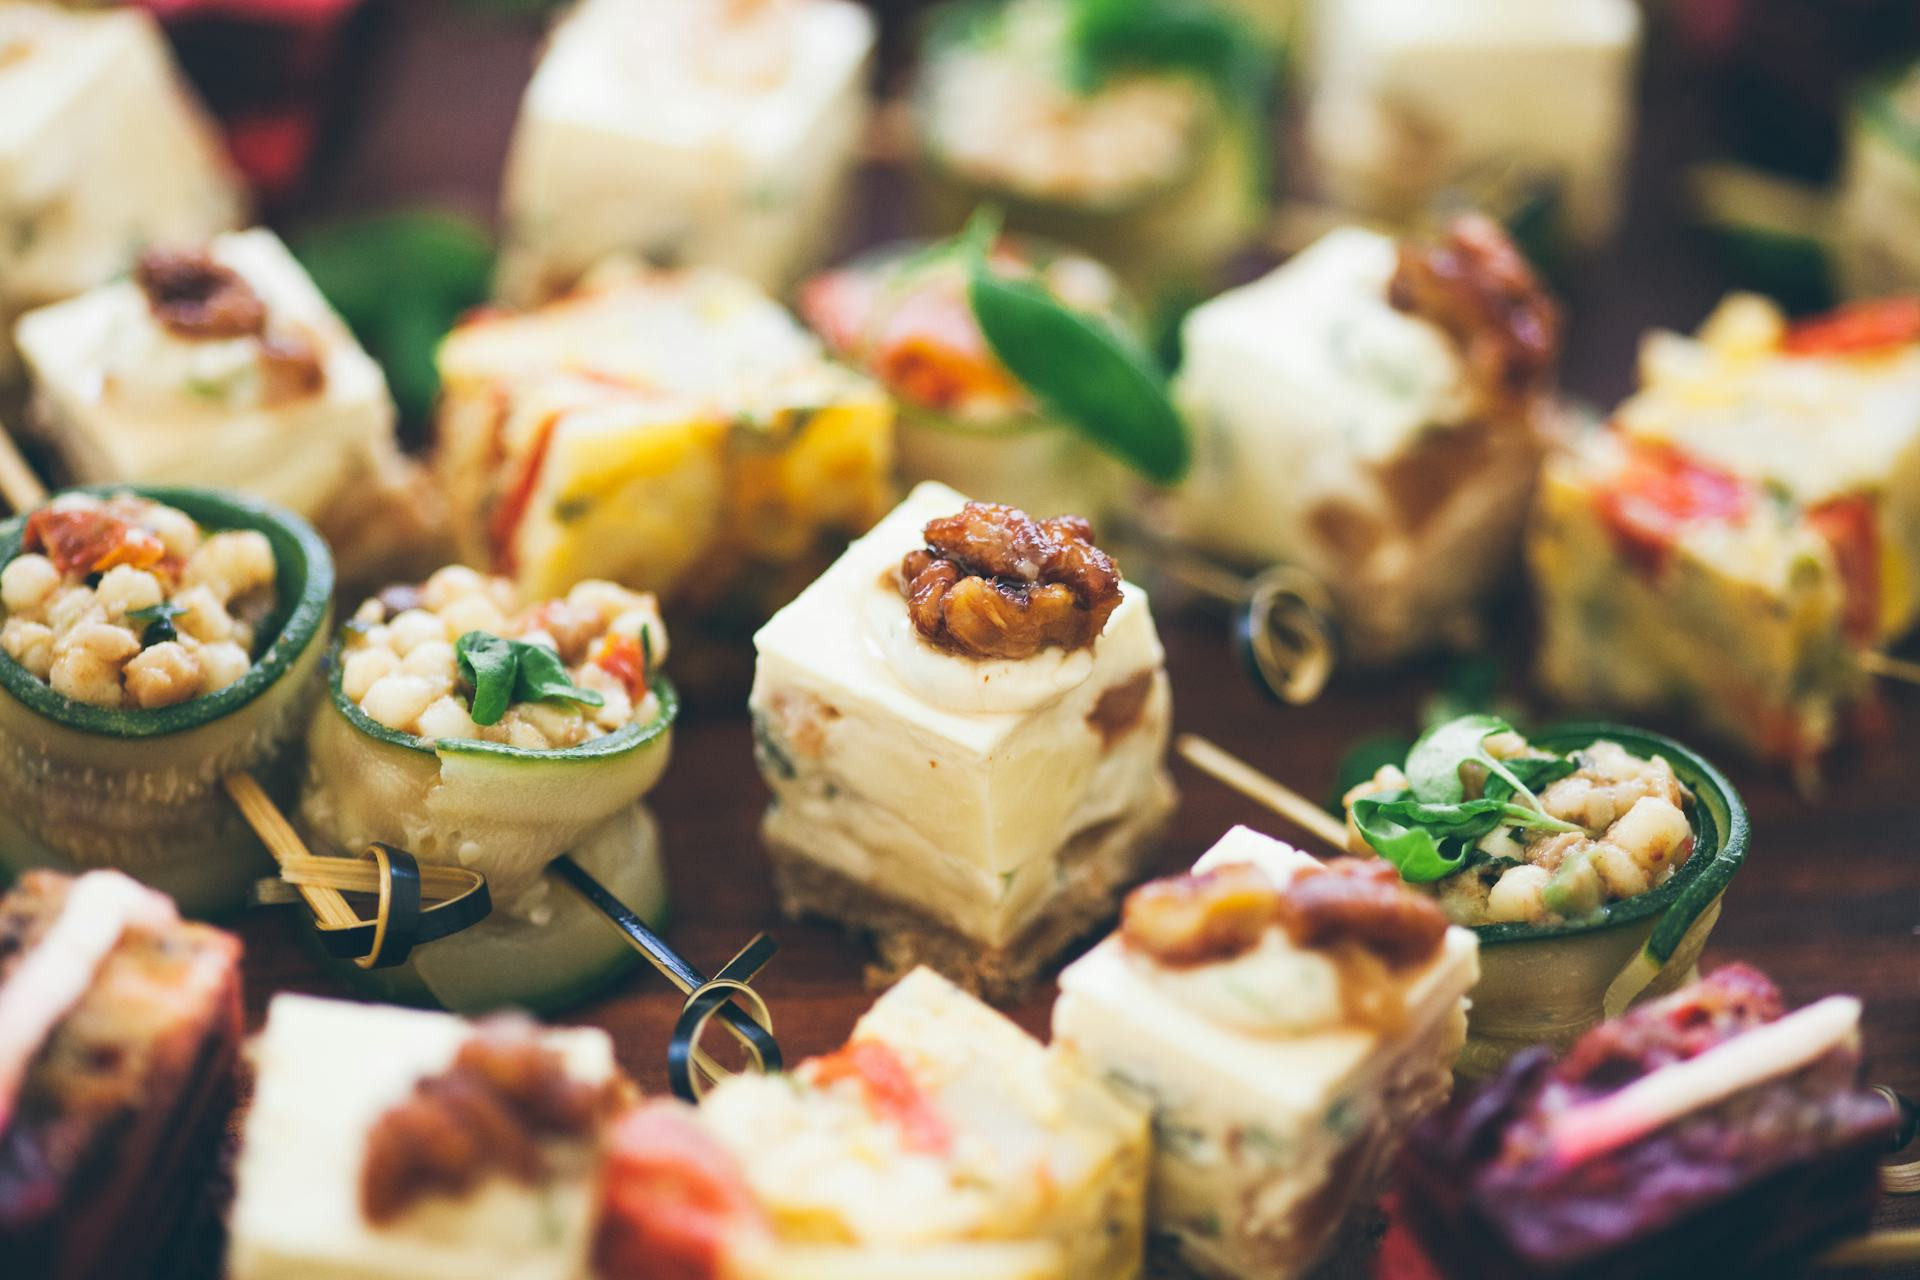
A beautiful food photo begins long before the camera clicks. It starts with an idea — a mood, a color palette, a story you want to tell through food. Food styling isn’t just about making dishes look delicious; it’s about creating a visual experience that evokes taste, texture, and emotion. Here’s a guide to planning a successful food styling session — from the first spark of inspiration to the final image.
Start with the Concept — and the Purpose
Before you start cooking or styling, define your goal. Is the photo for a cookbook, a restaurant menu, a brand campaign, or social media? The purpose determines the style, format, and tone of your shoot.
Create a mood board with images, colors, and textures that inspire you. This helps you find a cohesive direction and visual identity. Think about the feeling you want to convey: cozy and rustic, clean and modern, or bright and playful?
Once your concept is clear, every decision — from props to lighting — becomes easier and more intentional.
Plan the Menu and Prepare the Food
Even the best concept can fall flat if the food doesn’t look appetizing. Choose dishes that photograph well. Some ingredients wilt or lose color quickly, while others look better after resting for a few minutes.
Make a detailed plan for what needs to be cooked and in what order. It’s smart to prepare extra portions so you can replace elements that don’t look fresh. Pay attention to color and contrast — a plate full of beige tones can look dull on camera.
If possible, test the recipe beforehand. Knowing how the dish behaves under lights and lenses will save you time and frustration on shoot day.
Choose Props and Backgrounds Thoughtfully
Props help tell the story around the food. Plates, utensils, glassware, linens, and surfaces can completely change the mood. A rustic wooden board gives a different vibe than a sleek marble countertop.
Keep background colors subtle so the food remains the star. Natural materials like linen, ceramic, and wood add warmth and texture. Avoid overcrowding the frame — too many elements can distract from the main subject.
Consider building a small “prop library” with your favorite pieces, so you always have options that fit your style.
Lighting — The Most Important Ingredient
Lighting can make or break a food photo. Natural daylight is often the most flattering, especially when it comes from the side or slightly behind the subject. It highlights textures and adds depth. Avoid harsh direct sunlight, which can create strong shadows and blown-out highlights.
If you’re shooting indoors, use reflectors or white boards to soften the light. Artificial lighting can work beautifully too, but it takes practice to make it look natural. Whatever setup you choose, test your lighting before styling the food — it will save time and help you work more efficiently.
Collaboration Between Stylist and Photographer
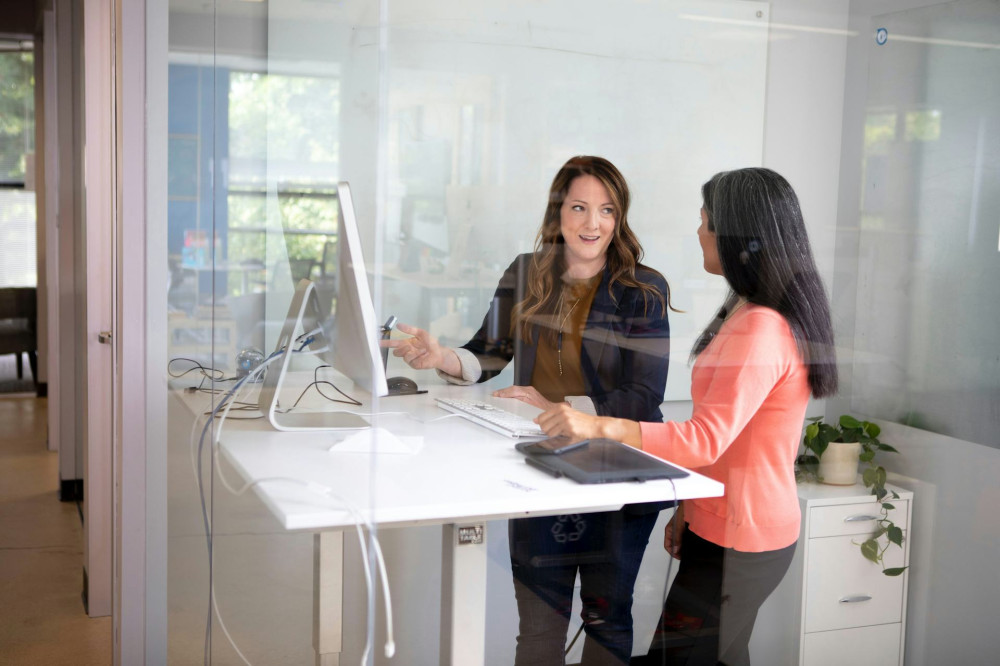
A food styling session works best when the stylist and photographer collaborate closely. The stylist focuses on the food’s details and composition, while the photographer manages lighting, angles, and technical quality. Clear communication ensures that the creative vision comes to life.
Create a shared plan for the day: Which shots come first? Which dishes require the most prep? A structured schedule keeps the session organized and leaves room for creativity once the basics are covered.
During the Session — Patience and Precision
When the camera is ready, it’s time to work quickly but carefully. Food changes fast, and small adjustments can make a big difference. A drizzle of sauce, a sprinkle of herbs, or a slight shift in cutlery can elevate a photo from good to stunning.
Keep tools like paper towels, brushes, and tweezers nearby to clean up spills, move crumbs, or add shine. Take plenty of shots from different angles and focal points — subtle variations often lead to the best results.
Post-Processing and Evaluation
Once the photos are taken, the final stage begins: editing. The goal isn’t to alter reality but to enhance what’s already there. Adjust brightness, contrast, and color balance to match the mood you envisioned.
Take time to review your results. What worked well? What could be improved next time? Every session is a learning experience, and reflection helps you refine your craft.
Læs også:
From Idea to Photo — A Creative Journey
A successful food styling session is the result of planning, teamwork, and creativity. It’s about blending aesthetics with practicality — and telling a story that makes viewers almost taste and smell the food.
When you master the process from idea to photo, food styling becomes more than a skill. It becomes an art form, where every image tells its own delicious story.
Læs også: